Acrylic is a highly versatile polymer with widespread applications in signage, décor, furniture, etc. But making acrylic products can become quite tricky, especially with intricate details. It doesn’t matter whether you’re a DIY enthusiast, a budding entrepreneur, or an industry professional. This article has everything you need to master acrylic craftsmanship for creative production.
What is Acrylic?
It’s a synthetic polymer derived from polymethyl methacrylate (PMMA), a transparent thermoplastic. Favorable properties have made acrylic polymers preferred alternatives to materials like glass and polycarbonate. Acrylic production covers almost 20% of global engineering plastics.
Raw Materials for Acrylic Production
- Methyl Methacrylate (MMA): It’s the primary monomer from acetone and hydrogen cyanide.
- Catalysts: Organic peroxides (benzoyl peroxide) initiate the polymerization process.
- Stabilizers: Added to prevent thermal degradation and potential yellowing during processing.
- Additives: They have colour pigments, mechanics fillers, and UV stabilizers for durability.
Acrylic acid and acetone serve as precursors during acrylic manufacturing. The chemical reaction of acetone and hydrogen cyanide (HCN) forms acetone cyanohydrin. Hydrogen cyanide comes from sodium cyanide reactions.
Steps to Manufacture Acrylic
- Monomer Preparation: MMA gets distilled and refined to ensure purity. It can prevent contamination from impurities that compromise the clarity and strength.
- Polymerization: MMA is heated and cooled in molds to create solid acrylic sheets for continuous bulk polymerization. It’s ideal for producing long polymer chains with optical clarity.
MMA is dispersed in water with a suspending agent in suspension polymerization to form tiny beads or granules. Those beads can later be melted and reshaped based on project specifications.
- Shaping: in casting, liquid acrylic is poured into molds. Extrusion involves melting the acrylic granules to push through a die. And molding enables intricate designs for complex products.
- Finishing: The formed and reshaped acrylic plastic gets polished, cut, and/or adequately treated to enhance its appeal and durability.
Acrylic Sheet Types: Cast vs Extruded
Modern acrylic forms (sheets, rods, tubes) are primarily categorized into two types based on the production process.
- Cast acrylic involves pouring liquid PMMA into molds. It delivers better clarity, resistance to UV light, and easy machining for high-quality applications.
- Extruded acrylic pushes the molten PMMA through rollers. It’s cost-effective and consistent in thickness with slightly lower clarity and resistance.
Crafting Acrylic Products – Acrylic Fibers, Acrylic Yarn, Acrylic Fabric
Acrylic sheets can’t satisfy all kinds of crafting requirements right away. You’ll have to choose from fibers, yarn, and fabric based on the demand. These are more like three forms of usable acrylic to create various items.
What Are Acrylic Fibers?
It’s the raw form of acrylic material. The synthetic fiber comes from at least 85% acrylonitrile monomer. A potential combination with other monomers like vinyl acetate or methyl acrylate is also available. The outcome closely resembles natural fibers like wool in texture.
Exclusive Acrylic Fiber Properties
- Elasticity: They can stretch significantly without losing their shape.
- Moisture Resistance: The fibers dry quickly and resist water absorption in humid environments.
- Ease of Dyeing: It’s possible to dye them in vibrant and diverse colors.
Common Applications of Acrylic Fibers
- Textiles: Sweaters, blankets, and upholstery due to their wool-like texture.
- Crafting: Ideal for knitting, crocheting, and creating custom decorative items.
- Outdoor: Awnings, flags, and outdoor furniture for their weather resistance.
- Industrial Use: Incorporated into reinforcement materials, filters, and ropes.
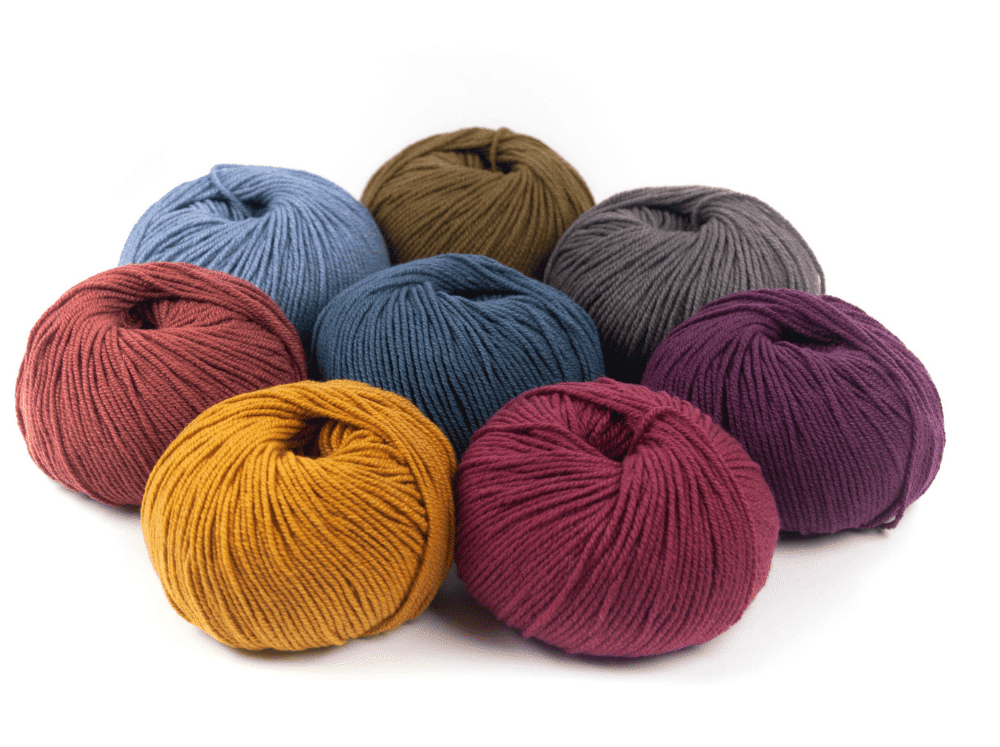
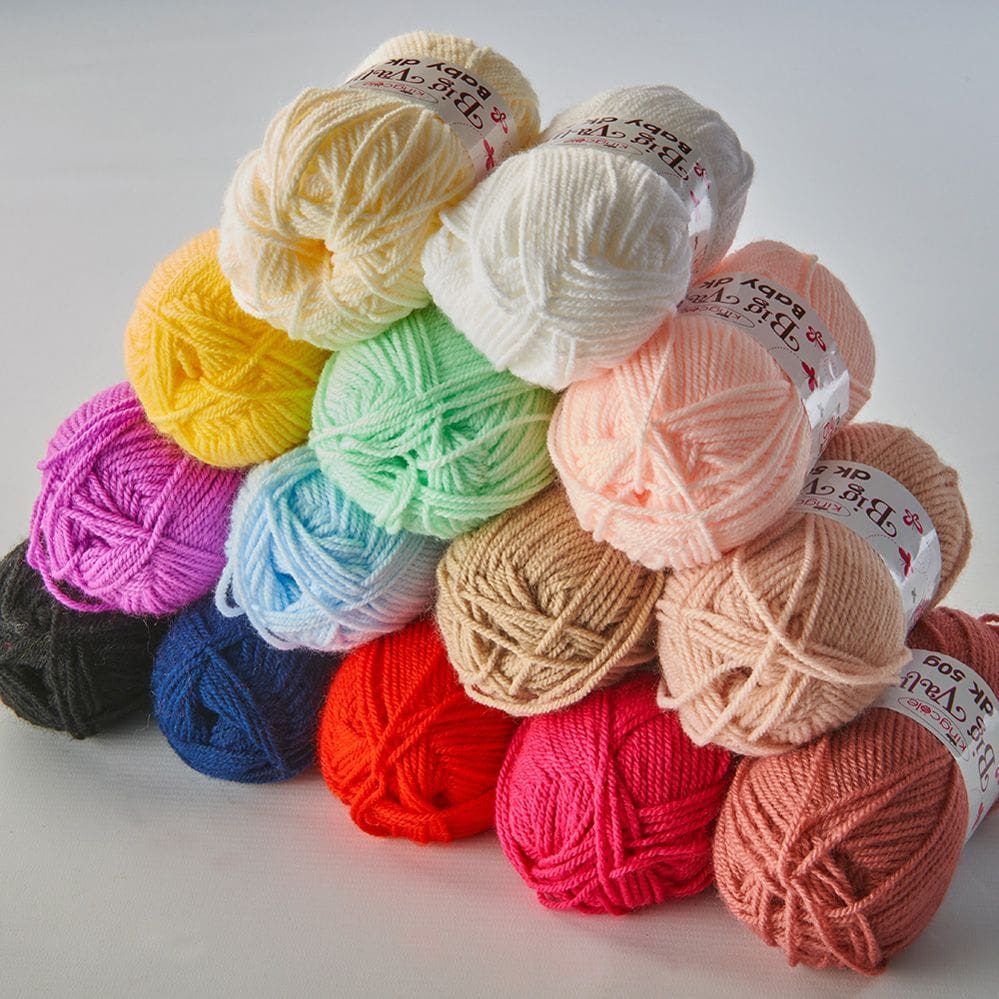
What Is Acrylic Yarn?
It’s another synthetic fiber from polymerized acrylonitrile. Dry spinning the acrylic fibers into continuous threads creates yarn. It’s the intermediate form between raw fibers and finished fabric. The lightweight, soft, and versatile form has distinctive textures, thicknesses, and colors.
Advantages of Acrylic Yarn
- A budget-friendly and accessible option for large or experimental projects.
- Low maintenance, machine washable, and excellent resistance to moths.
- Available in a vast range of colors, textures, and weights for creative needs.
Most Common Applications of Acrylic Yarn
- Knitting and Crocheting: Sweaters, scarves, hats, blankets, and home décor items.
- Crafting Projects: Ideal for making toys, wall hangings, and other decorative items.
- Educational Use: Popular among novices who practice knitting/crocheting techs.
- Industrial Applications: Occasional uses in rope-making and as fillers in upholstery.
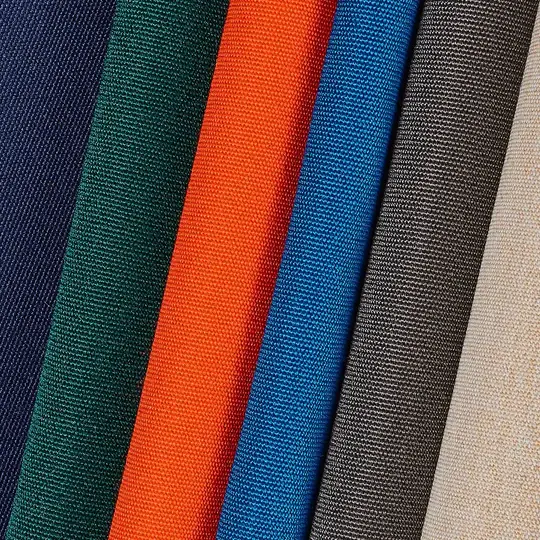
What Is Acrylic Fabric?
It’s a synthetic textile material made from polymerized acrylonitrile. The extrusion process with wet spinning makes fibers that can be woven, knitted, or blended with other materials. Acrylic fabric is the final product of weaving or knitting acrylic yarn into a textile.
Different Types of Acrylic Fabrics
- Standard Acrylic: Used across various industries, including blankets/sweaters.
- Modacrylic: A modified version that is flame-resistant for protective clothing and upholstery.
- Blended Acrylic: Mixed with natural or synthetic fibers like cotton or polyester.
Common Applications of Acrylic Fabrics
- Clothing: Sweaters, scarves, hats, gloves, and socks.
- Home Textiles: Blankets, upholstery, and decorative cushions.
- Protective Gear: Firefighter uniforms, protective clothing, and hair extensions.
- Outdoor Products: Flags, awnings, and patio furniture covers.
- Crafting: Yarn for knitting and crocheting for intricate designs.
Acrylic Fiber vs Acrylic Yarn vs Acrylic Fabric
- Form: Fiber is the raw material, but yarn is the intermediate thread. And the fabric is the finished textile.
- Applications: Fibers have various applications in industrial processes. You’ll find yearns in crafting and knitting. The fabric mostly makes it to clothing and upholstery.
- Processing: Each stage involves an additional manufacturing process to transform the plastic material.
All three derive from the same base material (PMMA). But they serve different purposes and represent distinct stages in the acrylic lifecycle. However, the crafting steps are almost the same for all three.
Required Tools and Materials
- Cutting Tools – Saws, laser cutter, rotary tools, or utility knives.
- Drilling Equipment – Drill press, acrylic drill bits, and hand drills.
- Sanding Tools – Sandpaper, rotary sanders, and buffers.
- Polishing Equipment – Compounds, wheels, and buffing machines.
- Adhesives – Acrylic cement, super glue, and solvent-based adhesives.
- Protective Gear – Safety goggles, gloves, and masks.
- Marking Tools – Measuring tape, rulers, and permanent markers.
Preparing Acrylic for Crafting
a. Choosing Appropriate Thickness: Thinner thicknesses (1 – 3 mm) are ideal for lightweight projects like small decorative items. They’re easy to handle, cut, and install with great flexibility.
Thicker acrylic sheets (5 – 10 mm or more) provide the versatile material required for furniture and structural components. They often require additional machining effort.
b. Getting the Perfect Sheet: The most versatile type is a clear sheet with a glass-like clarity. It’s great for windows, photo frames, and protective screens. Colored sheets are available in many vibrant shades. It’s ideal for artistic projects, outdoor signs, and jewelry.
A frosted sheet provides a diffused appearance with reduced glare and enhanced privacy. It’s great for partitions, decorative panels, and lighting fixtures. Textured acrylic sheets with unique patterns or designs improve visual interest in items.

c. Measuring and Marking Acrylic: Use the measuring tape or ruler for accurate dimensions. Get templates or a grid ruler for intricate designs. Use permanent markers or dry-erase pens for guidelines.
Permanent markers keep the marks visible, while dry-erase pens are useful for temporary markings. Apply masking tape along the edges to define the cutting area without chipping risks.
d. Additional Tips for Accuracy: Double-check the measurements. Use straight edges for perfect alignment. Consider marking the cutting direction and starting points to streamline the process.
Secure the acrylic sheet with clamps to prevent movement. Ensure the workspace is well-lit and flat for optimal accuracy. Also, wear safety goggles and gloves to protect against sharp edges and debris.
Step #01 – Cutting Acrylic Sheets
It’s the foundational step in crafting acrylic products. A precise cut delivers a professional finish with minimal waste. You can adopt various cutting methods to achieve clean and flawless edges.
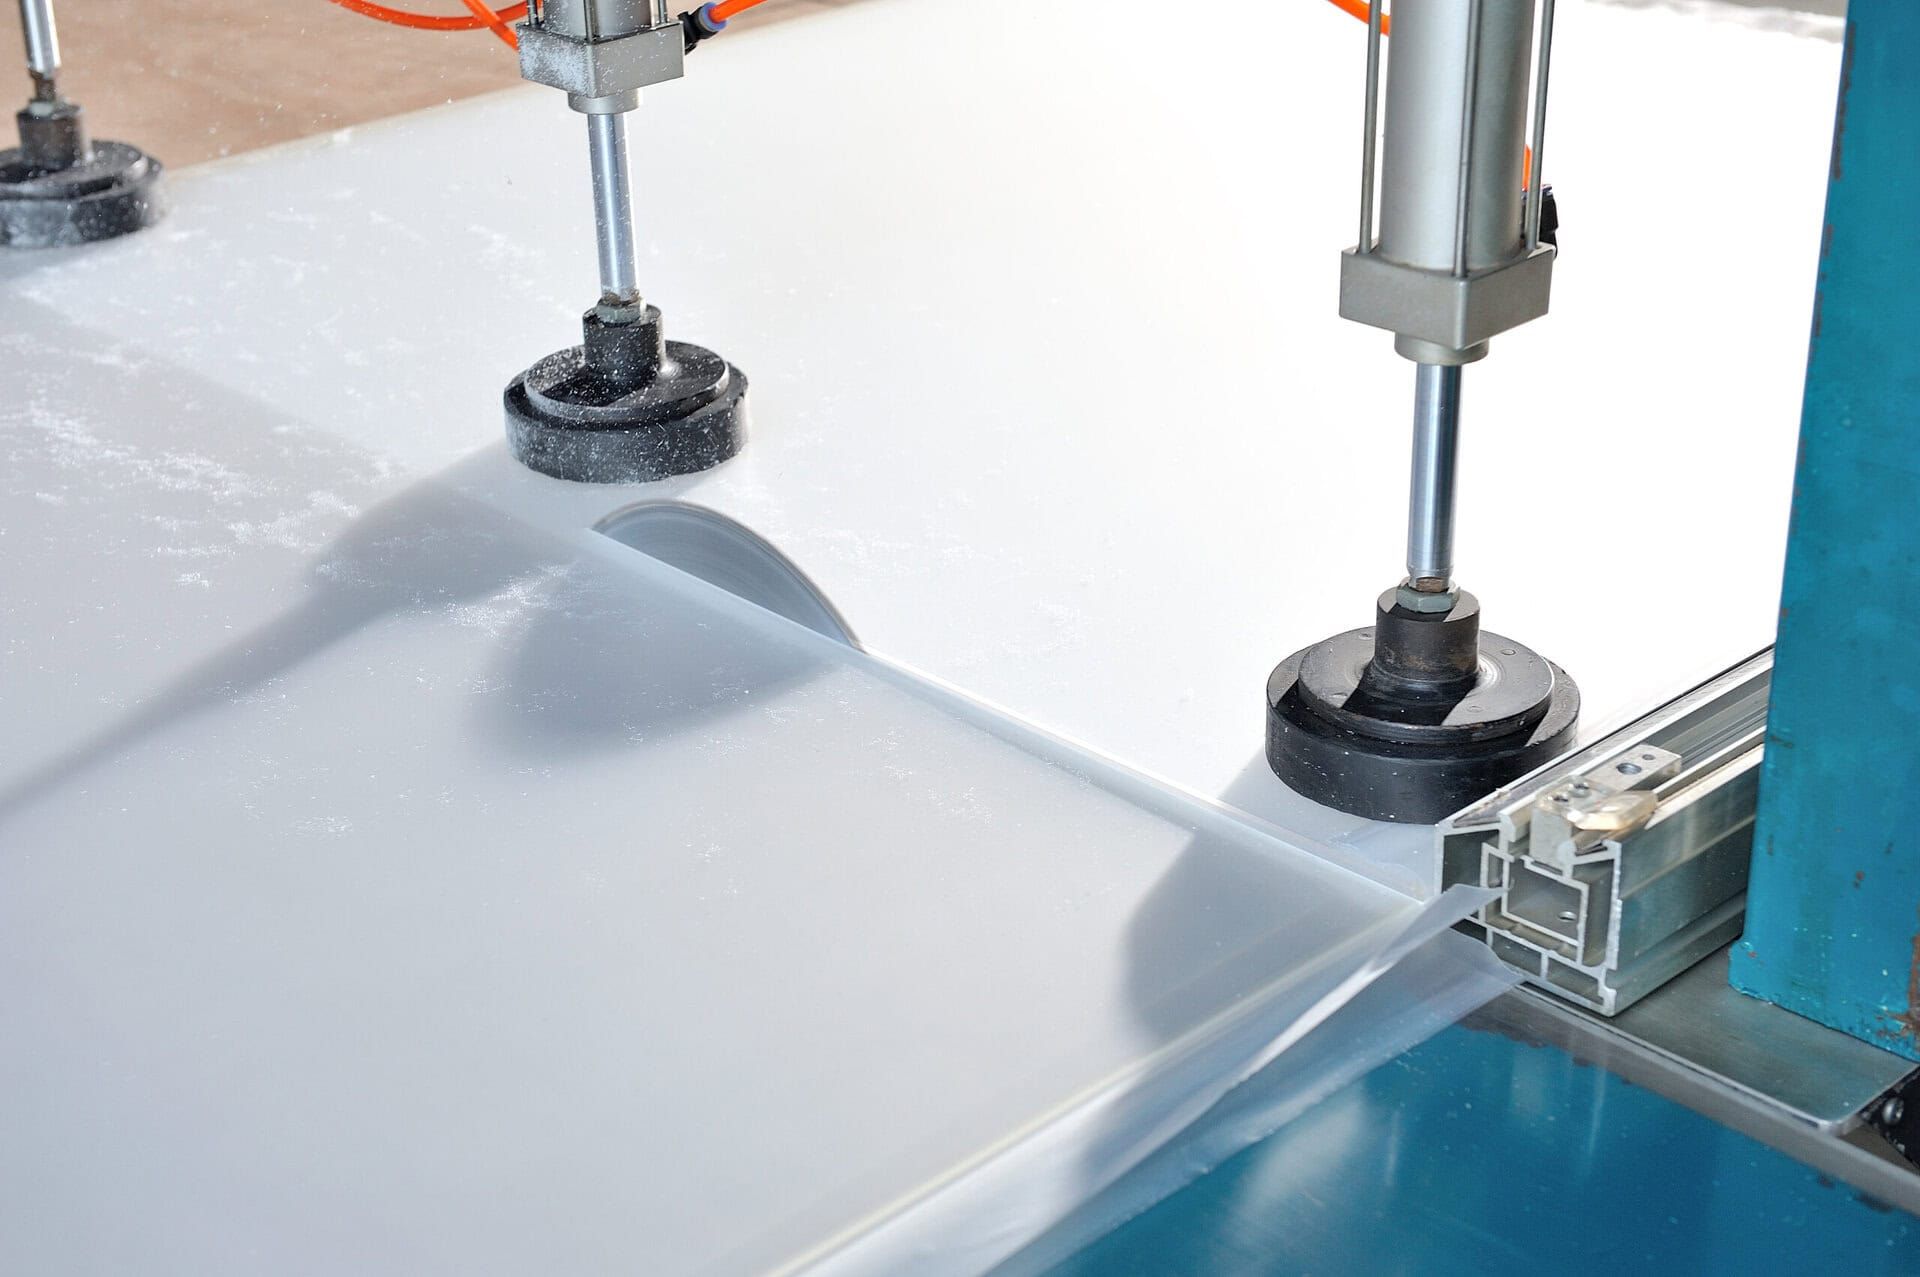
A. Using a Saw: A circular or table saw with an acrylic-specific blade is a reliable option for cutting thicker sheets. Use a blade designed for plastic materials with fine teeth.
Secure the acrylic sheet firmly using clamps to minimize vibrations. Gradually feed the sheet into the blade, maintaining steady pressure to avoid uneven cuts or jagged edges.
B. Using a Laser Cutter: Laser cutting is the most advanced method for working with the sheets. It offers unmatched precision for intricate designs for artistic or customized projects.
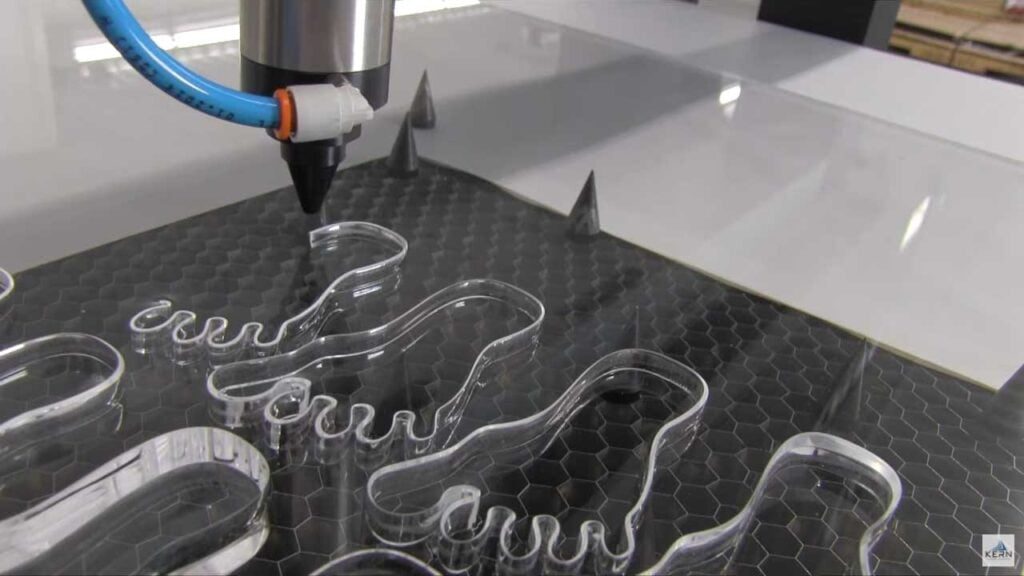
The laser melts the acrylic along the cutting line to create smooth edges with no further finishing. Many modern laser cutters allow uploading digital designs, simplifying the process.
Several studies claimed that laser cutting can reduce material waste by approximately 30% compared to manual methods. It makes laser cutter an eco-friendly choice for larger projects.
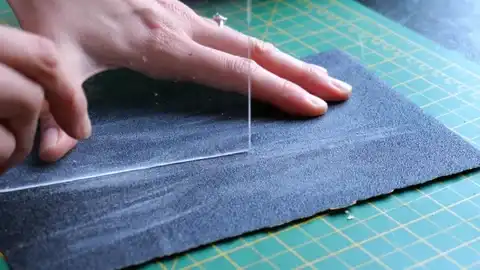
C. Scoring: Use a utility knife or a plastic cutter to score a deep groove along the specified line. Apply consistent pressure and repeat the scoring several times to ensure deep cuts.
D. Breaking: Place the scored line over the edge of flat sheets and apply gentle pressure on either side. It should snap the acrylic along the groove easily and cleanly.
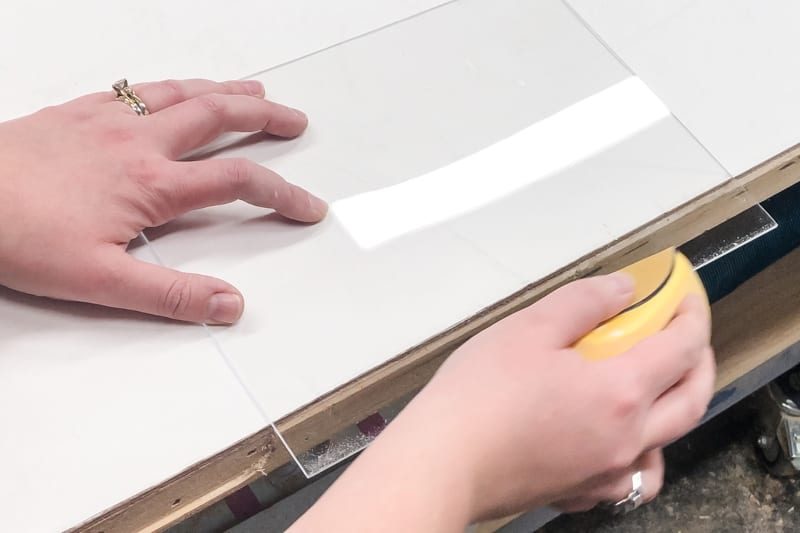
The method is highly effective for thinner acrylic sheets (1 – 3 mm). It’s perfect for lightweight projects requiring careful measurements to achieve clean breaks.
Apply painter’s tape along the cutting line to stabilize the edges. It’s especially beneficial when using a saw. Avoid rushing the process; take your time to ensure precision.
Step #02 – Drilling Acrylic
i. Choosing the Right Drill Bit: Acrylic-specific ones have a special design with a sharper cutting angle and a flatter tip. They reduce stress on the material to prevent cracking or chipping.
Alternately, you can get well-sharpened twist bits for reduced aggressiveness. Keep the drill bit diameter matching your desired hole size to avoid over-drilling or material wastage.
Start drilling at low to medium speeds to avoid overheating. High speed generates friction to cause melting or fractures. As a thumb rule, a slower speed is better for thicker sheets.
Hold the drill perpendicular to the surface and apply consistent pressure. Avoid forcing the drill through the acrylic. Pause periodically for heat dissipation with thicker sheets.

ii. Deburring: Rough or jagged edges are common around the hole. Deburring treats those edges towards a polished finish. Use fine-grit sandpaper (400 – 600 grit) to sand the edges. Move in a circular motion to avoid scratching the surface.
A special deburring tool is necessary for precision. Run it along the hole’s edge to remove roughness and sharp fragments. Apply a polishing compound with a small buffing wheel or cloth for a crystal-clear finish.
Step #03 – Sanding and Smoothing Edges
Sanding requires sandpaper of varying grit levels to remove roughness and imperfections along the cut edges. Common sandpaper grits for acrylic products are –
- Coarse Grit Sandpaper (80 – 120 grit): Used for initial sanding to remove large imperfections and sharp protrusions.
- Medium Grit Sandpaper (200 – 400 grit): Ideal for further refining the surface, eliminating scratches left by coarse grit sandpaper.
- Fine Grit Sandpaper (600 – 1200 grit): A polished finish makes the edges smooth and glossy, giving a professional look.
Always apply a slightly wet sandpaper. Wet sanding reduces friction, prevents heat buildup, and minimizes dust particles.
Tips for Even Sanding
- Use a Sanding Block – Attach the sandpaper to a sanding block for even pressure distribution. It prevents uneven marks or gouges on the acrylic.
- Sand in Circular Motion – Avoid sanding back and forth to avoid creating uneven lines. A circular motion ensures consistent smoothing across the edge.
- Gradual Progression – Begin with coarse grit sandpaper and work to finer grits. Skipping grit levels may leave scratches or imperfections.
- Edge Alignment – Hold the sandpaper or sanding block perpendicular to the edge for uniformity. It also avoids rounding off the corners.
- Using a Rotary Tool – A rotary tool with a sanding attachment is faster and more efficient than manual sanding.
Step #04 – Polishing the Acrylic Surface
a. Polishing with a Buffing Wheel: It’s a powerful tool for achieving flawless surfaces on large acrylic pieces. Attach a soft buffing wheel to a rotary machine or polishing tool. Use acrylic-specific polish or a mild polishing compound designed for plastics.
Apply the polish evenly to the surface. Start with a small amount to skip uneven patching. Run the buffing wheel at a medium speed that may cloud the material. Move the wheel in smooth, overlapping motions to ensure uniform polishing.
Implement a clean buffing pad to remove any remaining residue after the initial polish for extra clarity. Buffing can reduce surface imperfections by up to 90% and create a glossy finish. It seems ideal for acrylic furniture, signage, and display cases.
b. Hand Polishing Techniques: Hand polishing is a more controlled method for small areas, intricate designs, or detailed projects. Use a microfiber cloth for polishing as the soft fibers minimize scratches and ensure even application.
Choose an acrylic polish or mild abrasive compound for clear surfaces. Apply a small amount of polish to the microfiber cloth. Rub the polish onto the acrylic in circular motions. Avoid pressing too hard, as this can leave uneven streaks.
c. Preventing Scratches: Scratches can ruin the finish of an acrylic surface. Keep the acrylic plastic sheets free from dust and debris. Use a soft cloth to wipe the surface gently. Also, avoid stiff brushes, rough clothes, or abrasive tools.
To prevent accidental damage, apply painter’s tape to nearby edges or non-polishing zones. Periodically inspect the buffing wheel and/or microfiber cloth for trapped particles. They can easily scratch acrylic plastics during polishing.
Step #05 – Joining Acrylic Pieces Together
A. Using Acrylic Cement: Acrylic cement, the same solvent-based adhesive, is the most common choice. Unlike traditional adhesives, it chemically fuses multiple pieces. Clean the acrylic surfaces using a soft cloth and isopropyl alcohol.
Use a syringe or applicator bottle for precision. Apply the acrylic cement sparingly along the edge. The cement should seep into the gap through capillary action for a strong bond. Allow it to set for 24 – 48 hours for maximum strength.
B. Clamping for Strong Bonds: Consider clamps with soft padding to avoid scratching the material. Rubber bands or tape may suffice for smaller pieces. Position the acrylic pieces carefully for proper alignment.
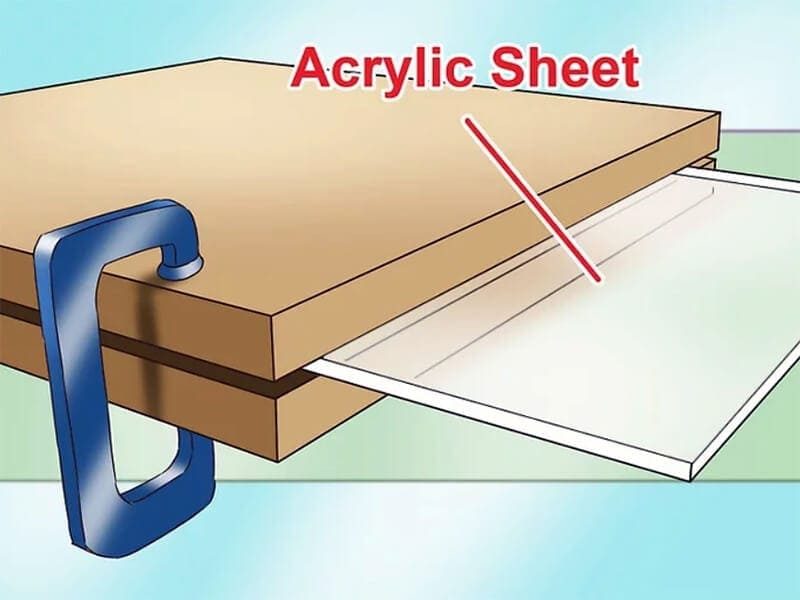
Apply a gentle but firm pressure with clamps for equal distribution along the joint. Leave the clamps in place for curing. Usually, it takes 12 – 24 hours, which may vary depending on the product.
C. Alternative Adhesives: While acrylic cement is the gold standard, alternative adhesives can be used for quick repairs. Super glue is suitable for repairs/joints that are not designed for heavy loads.
You can even get epoxy (a two-part resin and hardener adhesive). It’s the ideal material for strong bonds in complex joints or uneven surfaces. It may require sanding or polishing for a clean finish.
Step #06 – Finishing Touches
A finishing touch can enhance the appearance and functionality of your acrylic products significantly. Many enthusiasts can obtain refined edges, decorative customization, or added accessories.
I. Edge Beveling: Beveling sharp edges improves safety while giving a sleek and professional finish. Use a rotary tool with a beveling attachment for precise results. Alternatively, sandpaper or a sanding block can be used for manual beveling.
II. Applying Decals: Clean the acrylic surface with isopropyl alcohol to remove dust and oils. Peel off the backing of the decal and position it carefully on the surface. Smooth out air bubbles with a credit card or squeegee, working from the center outward.
Conclusion
Crafting acrylic products is all about combining creativity, precision, and skill. It also concerns the rightful selection of acrylic materials based on your desired properties. Nonetheless, every step holds optimal importance in shaping a masterpiece. No matter what you’re trying, you need patience to achieve the most precise outcome.
Contact JUMEI for Your Required Acrylic Sheet
Are you looking for high-quality acrylic solutions for your craftsmanship? Juemi Acrylic Manufacturing is ready with the best products, leading experts, quality control, and innovative technologies. Contact us for professional assistance on your requirements.


