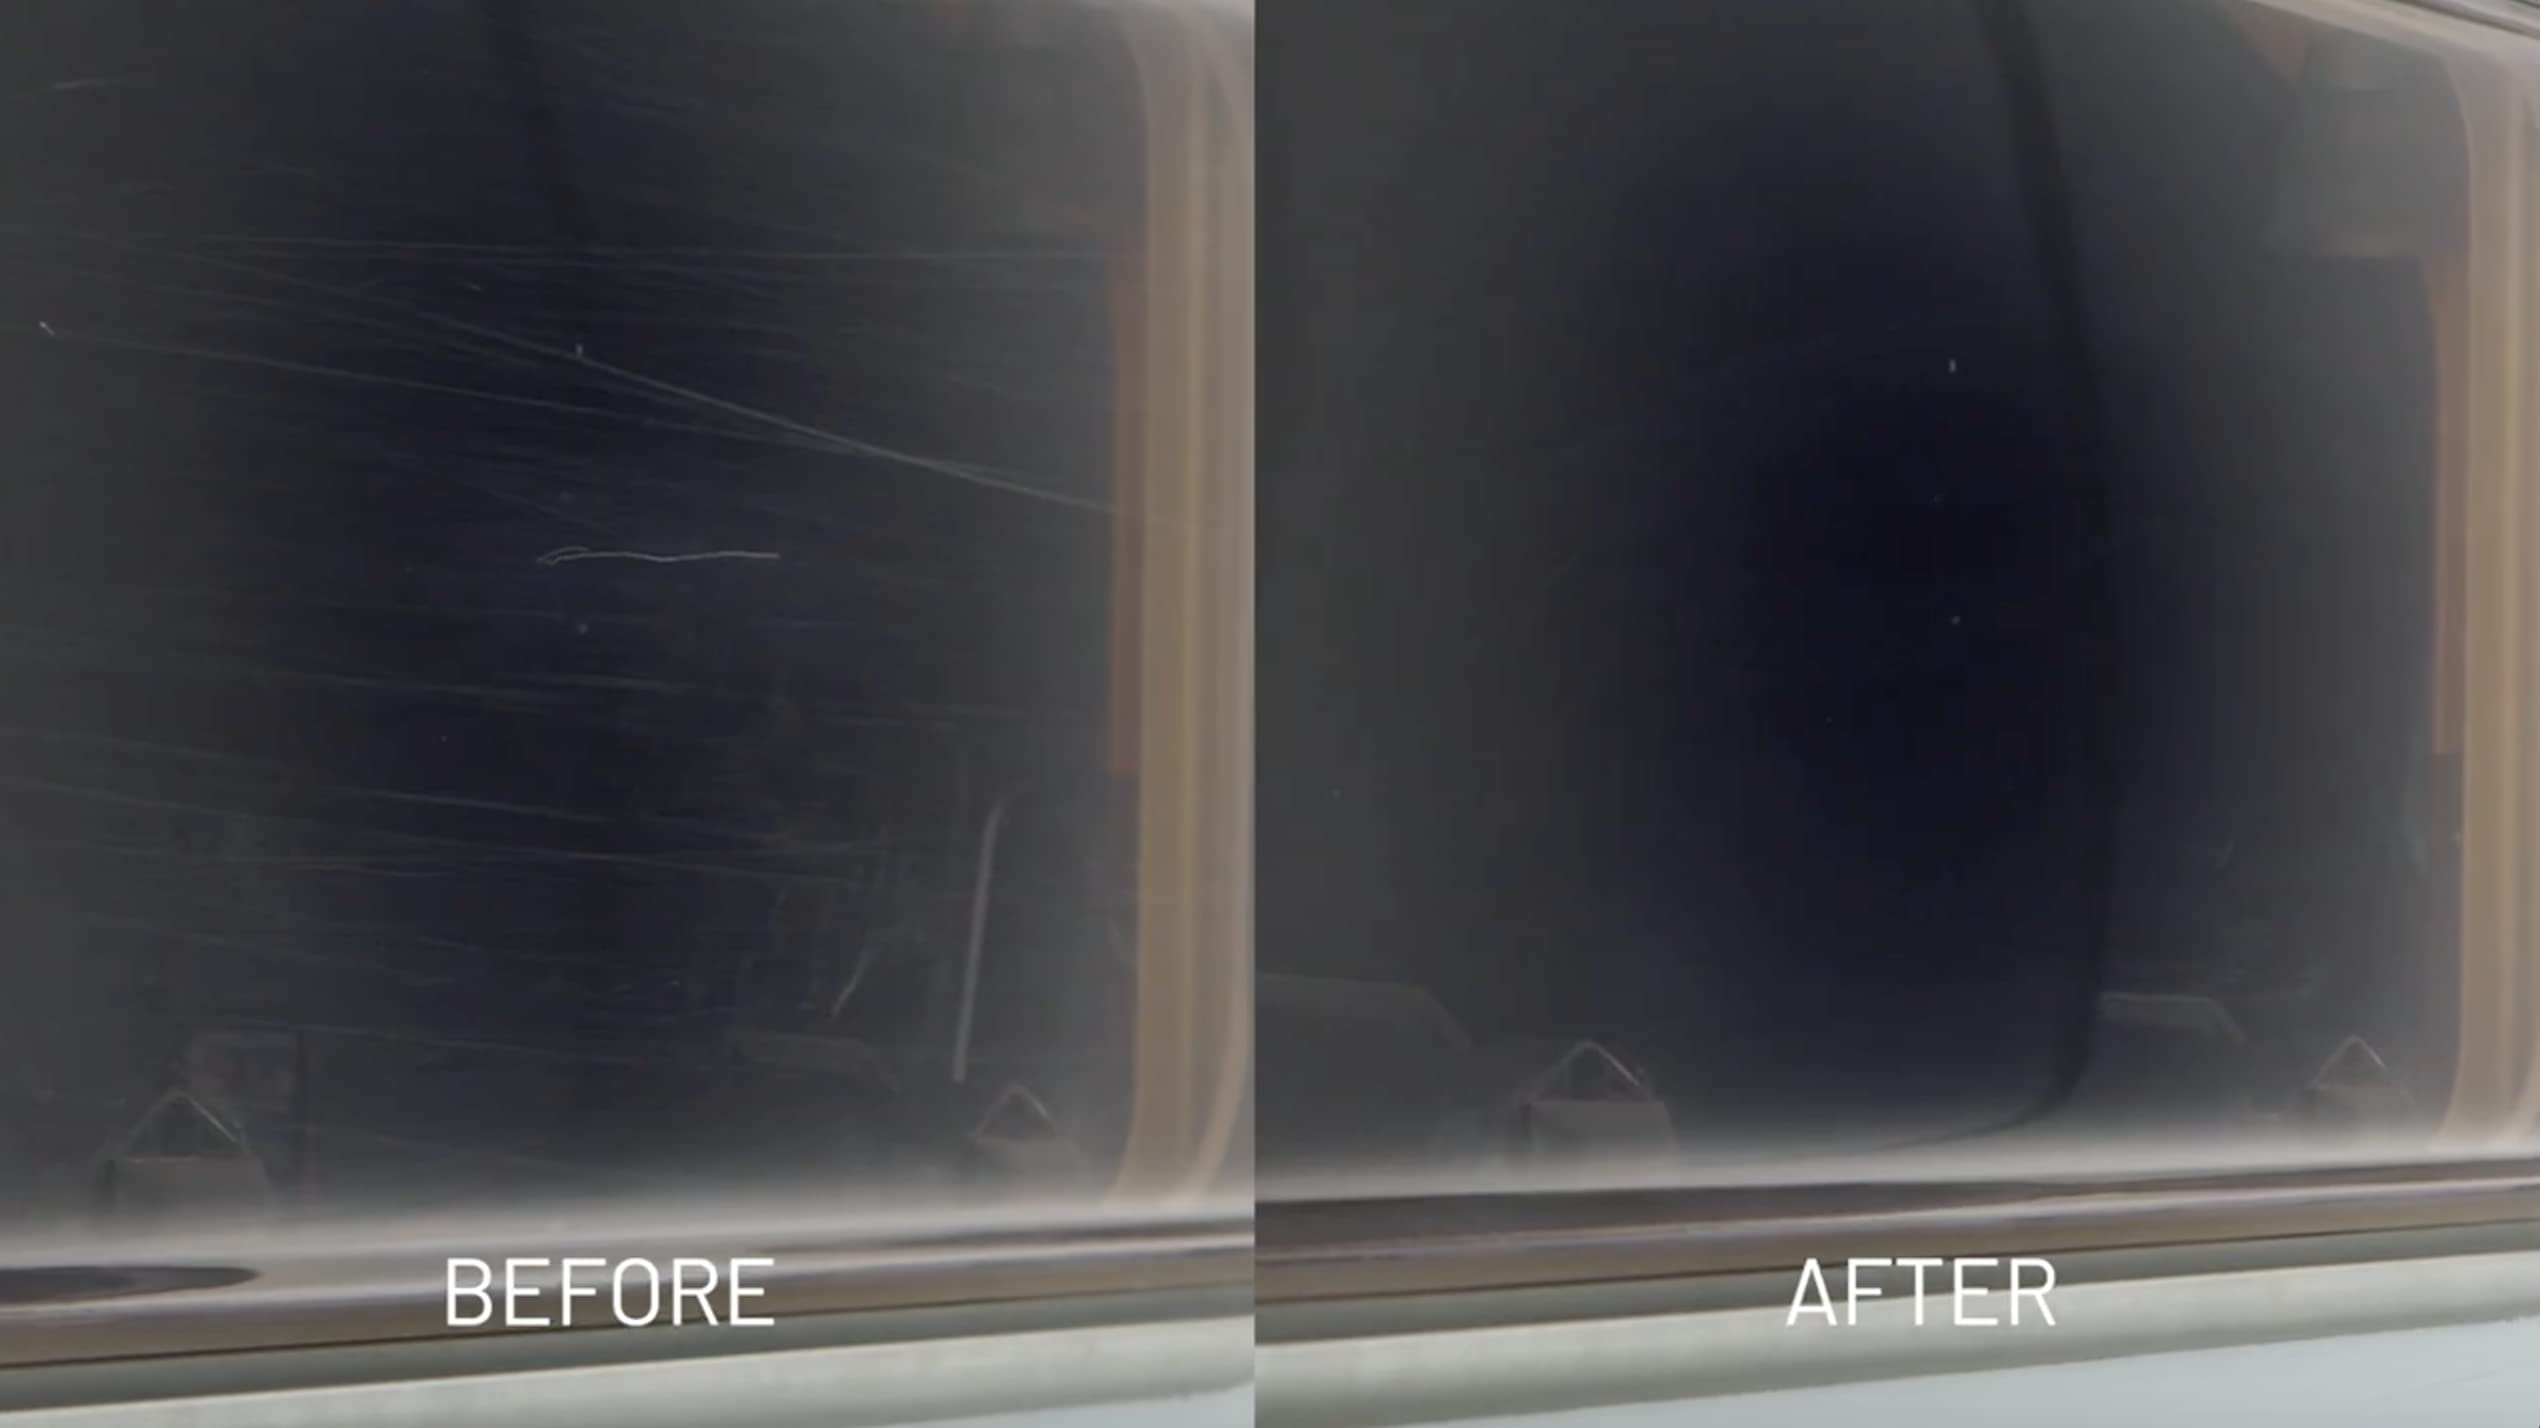
Acrylics introduce elegance and functionality to furniture, display cases, and windows. But the material has a natural tendency to develop scratches over time. It often diminishes the visual appeal and clarity to a significant extent.
This comprehensive guide enlists the five best methods to remove scratches from acrylic. You can restore the pristine look of the plexiglass pieces in no time. Those methods keep the surfaces clear and beautiful for years.
Understanding Acrylic Scratches
The versatile, transparent plastic material is popular due to its advantageous properties. Acrylic glass is also known as plexiglass or Plexiglas. The lightweight yet durable thermoplastic offers excellent optical clarity like glass.
Unlike glass, acrylics are highly shatter-resistant, making them a safer choice for impact applications. Its adaptability enables easy molding, cutting, and polishing into many forms. Despite so many benefits, acrylic also has its downsides.
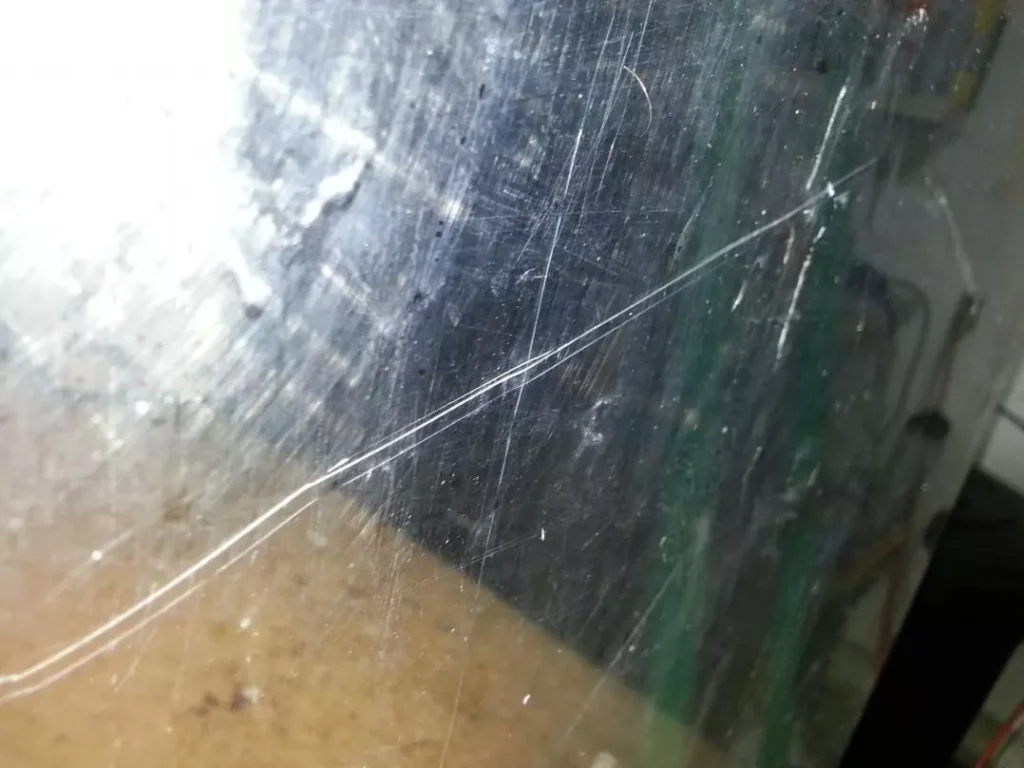
The plastic remains highly susceptible to scratches due to its softness. Simple everyday activities like cleaning, moving, or contact with harsh chemicals can leave marks on the soft material. Scratches can severely affect the physical properties.
Why Remove Scratches from Acrylic?
- Aesthetic Considerations: As mentioned, scratches can significantly diminish the visual appeal. Even minor scuffs and blemishes can scatter light unevenly. The cloudiness can distort acrylic fish tanks.
Showcasing items becomes problematic, especially with display cases, picture frames, or furniture. Removing scratches enables complete restoration of the original beauty and brilliance of the plexiglass acrylic.
- Preventing Further Damage: Scratches can lead to deeper issues as they can create vulnerable points on the surface. Stress and environmental factors can cause the plastic material to weaken over time.
It eventually ends up causing larger cracks, chipping, or general degradation to compromise structural integrity. Regular maintenance and timely removal can prevent such damage and preserve longevity.
- Restoring Functionality: Beyond aesthetics, clean plexiglass has some functional roles in many settings. Signage relies on clarity, while furniture and automotive parts depend on strength and outlook.
Addressing scratches promptly means acrylics remain visually appealing and functionally reliable. Proper care optimizes their performance in any setting, allowing the pieces to fulfil their intended purposes.
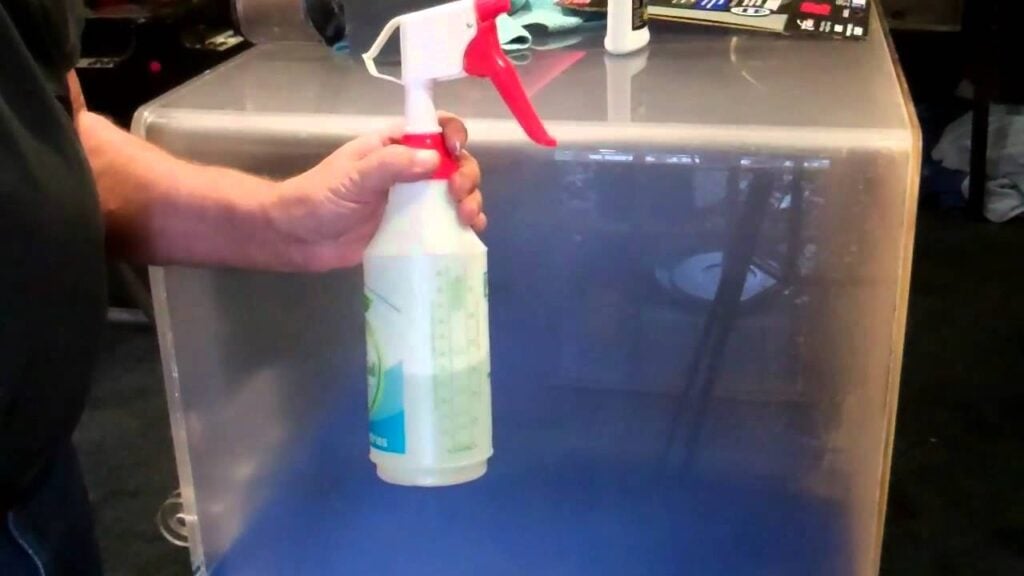
Removing Light Scratches from Acrylic: Using Mild Abrasive Cleaners
It’s one of the simplest yet reliable and effective ways to treat minor acrylic scratches. You’ll need –
- A mild abrasive cleaner like an automotive polish or non-abrasive toothpaste (not gel-based).
- A clean, soft microfiber cloth (no damp cloth) for gentle and uniform application without harsh abrasion.
The mild plastic polish or toothpaste abrasives act like fine scratch remover for surface imperfections.
Step-by-Step Process
- Clean the Surface Thoroughly: Gently wash the acrylic surface with a mild soap and water solution. It should remove loose dirt or dust from buffing. Dry the area thoroughly with a lint-free cloth.
- Apply the Cleaner: Squeeze a small amount to pour directly on the scratched dry piece. A pea-sized amount should suffice for minor scratches.
- Buff the Area: Take the microfiber cloth to rub the cleaner into the scratches. Employ a circular motion while applying light to moderate pressure. Focus on each scratch for about 2 – 3 minutes.
- Wipe and Assess: Wipe away residues with a clean part of the microfiber cloth. Inspect the area under a good light to see whether the scratch has diminished.
Some Useful Tips
- Test First: Test the cleaner on a small, inconspicuous acrylic section. Check whether the solution seems compatible without any adverse reactions.
- Choose Carefully: Avoid using any abrasive/whitening toothpaste or acrylic paint. They often exacerbate the scratches instead of minimizing them.
- Maintain Gentle Pressure: Overzealous rubbing could worsen the damage or craft new micro-scratches. Work patiently and with care.
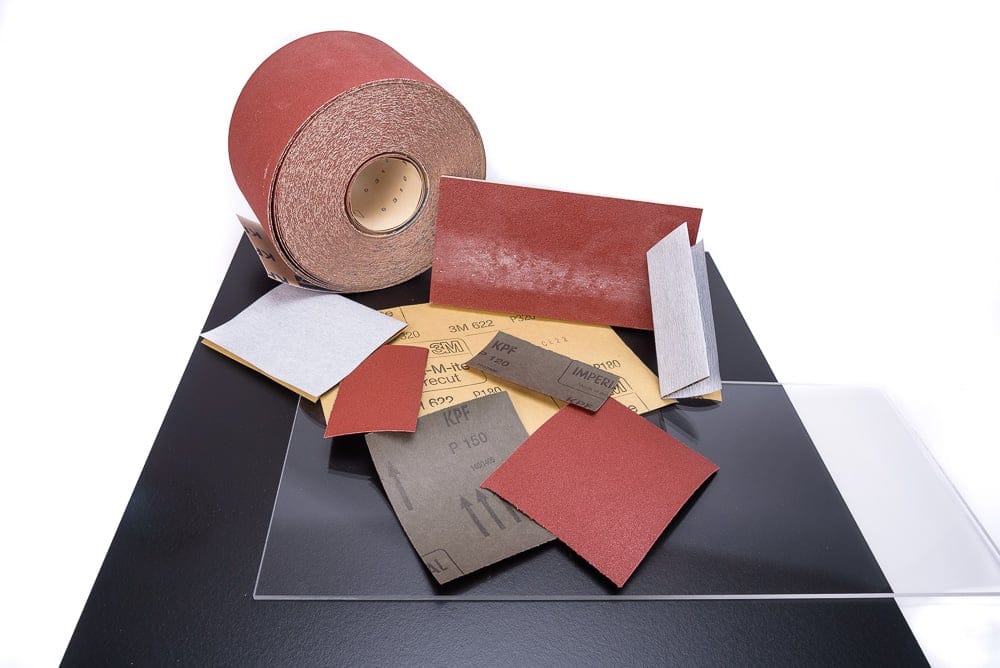
Removing Scratches from Plexiglass: Sanding with Wet Sandpaper
It’s an effective strategy to treat deeper scratches that can’t be resolved with mild abrasive cleaners. Successfully minimizing or eliminating deeper scratches on acrylic requires the following tools –
- Microfiber Cloth: It’s the obligatory choice to clean surfaces without introducing new abrasions.
- Wet Sandpaper: Start with an 800-grit sandpaper for initial smoothing. Move to a finer grit, like 1000-grit and 2000-grit, for optimal results.
- Warm Water: It helps to lubricate the sandpaper and prevents acrylic dust from causing more scratches.
Gradually smoothing out the damaged area allows wet sanding to restore a consistent surface texture. Despite being time-intensive, wet sanding offers a reliable deep scratch removal solution.
Step-by-Step Process
- Clean and Dry the Surface: Thoroughly clean the scratched surface to remove dirt, dust, or debris. They can worsen the damage during sanding. Ensure the surface is completely dry before proceeding.
- Prepare the Sandpaper: Soak the dry sandpaper in water. Such lubrication prevents the acrylic sheets from overheating during sanding. It also reduces the likelihood of further scratching from particles.
- Sand the Scratched Area: Use the wet sandpaper to start polishing or sanding the scratches. Do it in a circular motion or along the direction of the scratch grain.
Start with the coarser 800-grit sandpaper for smoothing. Gradually shift to finer grits (1000 – 2000) for a polished finish. Apply light pressure through polishing cloth and sandpaper to avoid over-sanding.
- Rinse and Clean: Rinse the area with soapy water to remove any residual sanding particles after completion. Employ a clean, soft cloth to dry the surface. Assess the overall improvement of clarity.
Some Useful Tips
- Gentle Technique: Always sand with light and controlled pressure to avoid excessive removal of acrylic plastic. It may even lead to potential surface distortion.
- Gradual Grit Progression: Always start with coarser sandpaper to address the scratch. Transitioning to finer grits easily refines the finish. Skipping grits may leave uneven surfaces or new micro-scratches.
- Polishing for Shine: Apply an acrylic polish to restore the glossy appearance. Also, any residual sanding marks should be eliminated after the entire process.
Removing Scratches from Acrylic Glass: Polishing with a Polishing Compound
It initiates superior efficiency in treating light to moderate scratches. The polishing action smooths out surface imperfections. An effective polishing process for acrylics to eliminate the scratches calls for –
- A polishing compound designed for automotive or acrylic-specific applications. Such compounds are formulated to refine the surface gently.
- A buffer for faster results or a soft microfiber cloth for manual application. The foam buffing pad must suit acrylic sheets for optimal outcomes.
The visibility of scratches is reduced to restore the original transparency and shininess of the acrylic. However, deeper scratches often require time-intensive methods like wet sanding before polishing.
Step-by-Step Process
- Clean the Surface Thoroughly: Wash the surface with a mild soap and water solution to remove dirt, debris, or grease. Dry the area thoroughly with a lint-free cloth to prevent water spots.
- Apply the Polishing Compound: Place a small amount of the polishing compound on the scratches. Avoid overusing the product; a pea-sized amount seems good enough for localized scratches.
- Buff in Circular Motions: Use a microfiber cloth or a buffer to rub the compound on the surface. Apply gentle yet circular motions. Operate the buffer at a slower pace to avoid overheating issues.
- Final Buff for Clarity: Continue buffing/rubbing until the marks diminish. Remove excess polish from the less visible marks with a clean cloth. Buff the surface lightly to restore clarity and finish.

Some Useful Tips
- Test the Compound: Test the polishing compound on a hidden or inconspicuous acrylic area before washing. Always ensure compatibility with the acrylic material.
- Use a Buffer Wisely: Select a pad specifically designed for acrylic with the buffing or polishing machine. Maintain consistent and light pressure during the process to prevent uneven results.
- Follow-Up Protection: After polishing, consider applying a protective coating or cleaner. It should retain the restored surface while reducing the likelihood of future scratching.
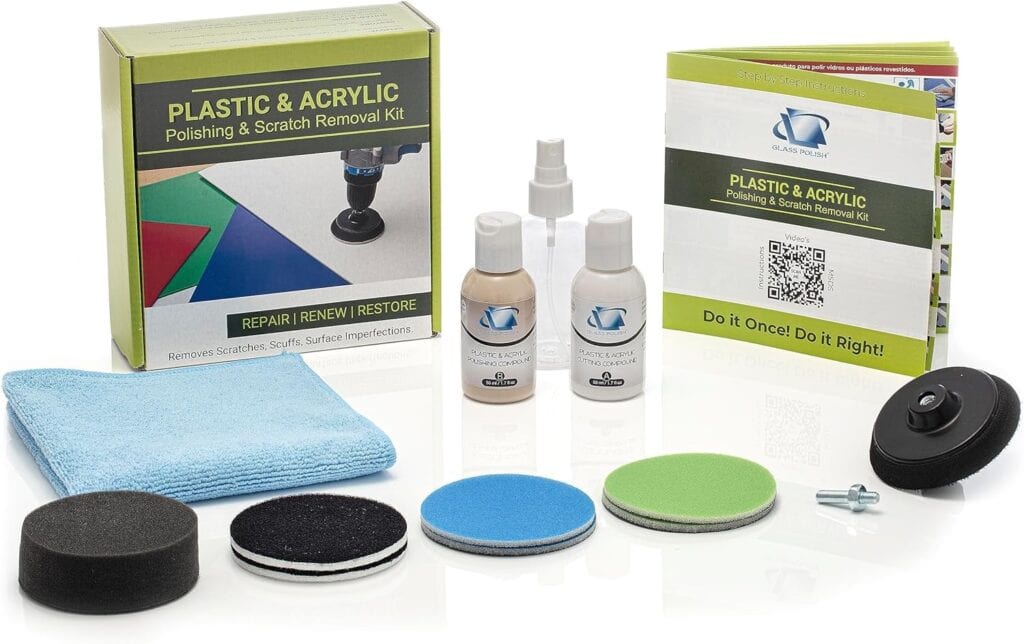
Removing Scratches from Plexiglas: Using a Scratch Removal Kit
Scratch removal kits specifically address acrylic panel imperfections with pro-level finishes. Standard acrylic scratch removers feel more like convenient all-in-one solutions that include –
- Polishing Compound: Specially formulated to smooth out scratches on acrylic surfaces.
- Cloths or Sponges: Soft, non-abrasive materials designed to apply the compound effectively.
- Sandpaper: Some kits include fine-grit sandpaper for deeper scratches before polishing.
Scratch remover kits can quickly treat a light scratch (even medium marks) to restore the smoothness. The practical and friendly approach can repair acrylics without advanced skills or additional materials.
Step-by-Step Process
- Read and Prepare: Carefully read the instructions provided with the kit first. Try to understand all the specified components and recommended usage.
- Clean the Surface: Wash the surface with a mild soap and lukewarm water solution to remove dust, dirt, or oils. Dry the plastic thoroughly with a lint-free cloth.
- Apply the Polishing Compound: Place a small amount of the polishing compound on the scratched area. Always maintain even distribution for better results.
- Sand the Scratches: Most of the high-end kits include sandpaper. Begin with light sanding (if necessary) before proceeding to the polishing compound.
- Rub the Surface: Use the included cloth or sponge to rub the compound into the scratched area gently. Use circular motions to buff the surface(s) evenly.
- Buff and Inspect: Continue buffing until the scratch diminishes. Let the area blend seamlessly with the unaffected surface. Wipe away excess water or compound.
Some Useful Tips
- Work Gradually: Avoid applying too much pressure while buffing. Such measures can cause further damage to the surface.
- Ease of Use: Scratch removal kits are perfect for individuals seeking a straightforward, hassle-free repair. They eliminate all the guesswork involved in choosing separate materials.
- Enhance with Polishing: Consider applying a separate acrylic protectant or cleaner to maintain the treated/restored surface.
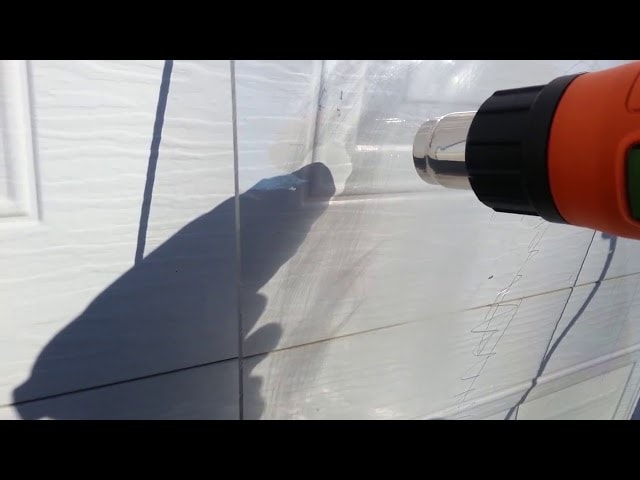
Removing Deep Scratches from Acrylic: Using a Heat Gun
A heat gun is more like a practical and powerful solution to confront deeper or stubborn scratch marks. Optimal precision and reasonable caution are obligatory for the strategy involving the following tools –
- An adjustable heat gun with controlled temperature settings to avoid overheating damages.
- A non-abrasive microfiber cloth to wipe the surface clean without inducing new scratches.
The method applies controlled heat to melt the acrylic’s top layer for self-healing slightly. Also, a cautious approach avoids overusing heat that may lead to warping and/or permanent damage.
Step-by-Step Process
- Carefully Heat the Scratched Area: Hold the heat gun approximately 4 – 6 inches from the acrylic surface. Activate the gun and move it in circular motions over the scratched area for uniform heating.
Always maintain a consistent distance and heating movement for the best results. Otherwise, the heat will concentrate on one spot, leading to potential warping.
- Monitor the Scratch: The heat causes the top layer to melt and self-level slightly. It even causes the marks to fade or close up. Observe the surface closely for diminished scratch marks without distortion.
- Smooth the Surface: Immediately use a dry cloth (microfiber) to wipe the area gently after the treatment. Smooth out the surface to remove any residue or uneven textures.
Some Useful Tips
- Use Caution: Proper control of the heat gun is critical. Excessive heat can cause the acrylic to warp, bubble, or discolor. It’s crucial to have a thin layer or high polish.
- Test Before Application: Always test the heat gun on a hidden or inconspicuous area first. You must know whether the heat treatment is safe for the specific acrylic surface.
- Avoid Overheating: Keep the heat gun moving to prevent potential overheating in any single area. Keep the heat settings low or well-balanced for better control.
- Pair with Polishing: Consider applying a polishing compound right after the heat treatment to restore the glossy finish. It should refine the entire outcome to a greater extent.
Some Additional Methods to Consider
The five methods enable effective scratch removal for the most part. However, a few more techniques are also available for you to implement. It depends on scratches, resources, and expertise.
· Commercial Acrylic Cleaners
Certain acrylic cleaners are formulated to clean the surface while reducing minor scratches. Those can be employed alongside standard microfiber cloths for buffing.
Such cleaners work well for negligible scuffs. They’re convenient and low-effort solutions for regular maintenance. Look for a cleaner with specified compatibility.
· DIY Remedies (Baking Soda Paste)
Create a paste by mixing baking soda with water to treat minor scratches. Apply the paste to the spot and gently buff with a microfiber cloth.
The paste acts as a gentle abrasive to smooth the surface. It isn’t as effective as specialized products. Avoid over-rubbing, and spread the paste evenly.
· Professional Repair Services
Sometimes, the scratches are extensive, or you’re just uncomfortable with the repair. Consider consulting a professional acrylic restoration service.
They have specialized tools and techniques to restore the surface effectively. It comes with guaranteed results on fully functional restoration for heavy damages.
Frequently Asked Questions (FAQs)
- Can scratches on colored acrylic be removed using the same methods?
You can remove scratches from colored acrylic using the same techniques (polishing and sanding). Extra care is necessary to avoid altering the color or finish during the treatment.
- Is sanding safe for acrylic surfaces with textured finishes?
Sanding can potentially flatten textured finishes. Therefore, it’s not recommended that the smooth sections be restored. A polish or scratch removal kit is a safer option for textured acrylic.
- How can static buildup on acrylic surfaces contribute to scratches?
Static buildup easily attracts dust and debris. And they often act like abrasives during cleaning and/or contact. Using anti-static acrylic cleaners can reduce such risks to maintain clarity.
- Are heat guns safe to use on double-layered acrylic sheets?
Heat application may cause uneven expansion or even delamination for double-layered or laminated acrylic sheets. Consider implementing polishing compounds or professional methods.
- Can scratches on curved acrylic surfaces be removed effectively?
Yes, curved surfaces require careful handling to preserve the shape. Buffing and polishing with microfiber cloths are more manageable. Such measures are less risky than sanding.
- Do scratches affect UV-resistant acrylic differently than standard acrylic?
UV-resistant acrylics are exclusive for durability. They’re slightly harder than standard acrylics, making superficial scratches less visible. But it’s problematic to polish out without proper tools.
- Are household chemical cleaning agents safe for maintaining acrylic surfaces?
Some household products (vinegar or ammonia-based glass cleaners) often cause cloudiness and/or surface damage. Therefore, always use products labeled safe for acrylic-like plastics.
- Can flame polishing be used for small scratches?
Flame polishing is generally more effective for smoothing edges or large areas than small marks. You better address minor scratches through simpler methods (sanding or polishing).
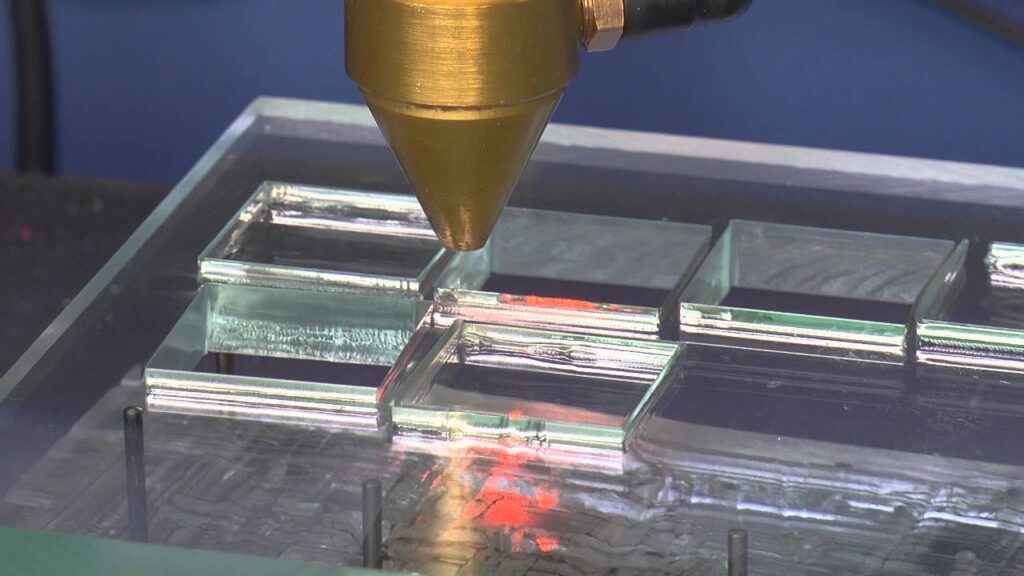
- Is laser polishing effective for heavily scratched acrylic?
Laser polishing is highly effective for removing deep scratches and restoring clarity. But it requires specialized equipment that is usually available through professional services.
Conclusion
There are several effective methods to remove scratches from acrylic surfaces. Each one suits different levels of damage. Cleaning, wet sanding, and polishing are standard to treat minor scratches at home. A scratch removal kit and heat gun should work well for somewhat stubborn or deeper scratches. And you can always opt for professional services for a guaranteed outcome.
Get High-Quality Acrylic Products without Scratches from JUMEI
Low-end products come with higher chances of getting scratched now and then. Invest in high-quality acrylic sheets from JUMEI Acrylic Manufacturing. Contact us for expert consultation on your needs.


